Handling & Transporting Artwork
Most Plein Air painters use wet panel carriers because they are literally transporting artwork wet from the field. I recommend transporting artwork to my studio in a wet panel carrier. It protects them from damage in your car (sudden stop) and keeps them clean. Also, be sure to clean out your cases from time to time with compressed air or simply washing them with water and placing them upside down to dry.
If you don’t have a wet panel carrier, placing artwork in a box with cloth or wax paper between pieces also works, but be careful if your artwork has thick impasto. Consider even an inexpensive cardboard carrier.
For transporting and handling large artwork, consider making a DIY Custom Artwork Carrier, here are the instructions.
Protect your Artwork from Dust
Dust on a painting, especially a freshly-varnished one, flares up when I photograph it. Frequently I carefully remove dust from dry paintings before I shoot them with a very low pressure air cleaner (the same kind photographers use to clean lenses). I strive to make the images of your art as perfect as possible. I know that you as an artist see the paint, but please be mindful of what happens to your art after you complete it. Varnish it in a clean setting. Keep your art carriers clean to help me to accurately reproduce your artwork.
How Rossow Photography Handles Artwork
I frequently handle wet or freshly-varnished paintings, many of my clients bring them to me to shoot them before a show or shipping them to galleries. Please let me know if your painting is still wet, recently varnished or has thick impasto. I keep my studio clean and carefully handle your art while photographing it. If I know in advance, I will handle them from the sides and return them to their cases after shooting. If a painting is wet and by rare chance I get paint on my hands from even the side of the canvas I will let you know so you can touch it up if need be.
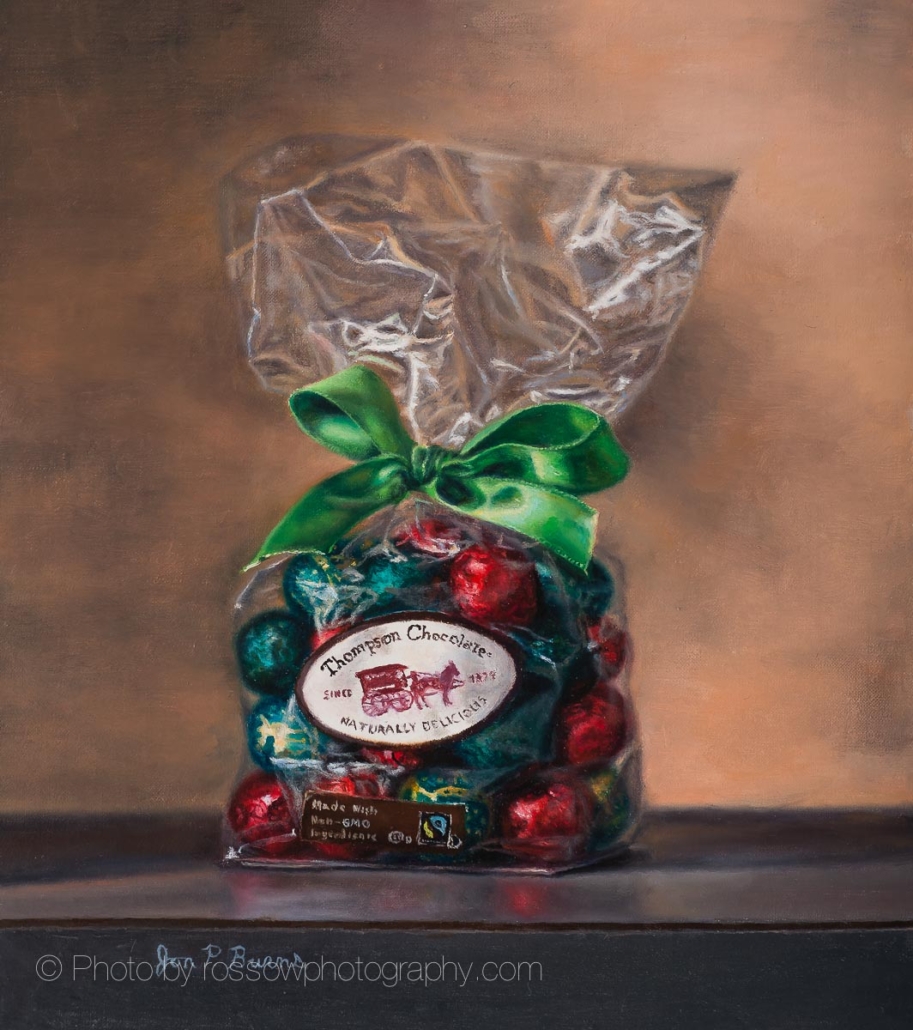 https://rossowphotography.com/wp-content/uploads/2024/07/Jon-Burns-painting-photographed-by-Mitch-Rossow-Thompson-Chocolate.jpg
1200
1064
Mitch Rossow
https://rossowphotography.com/wp-content/uploads/2023/10/MItch-Rossow-Artwork-Photography.png
Mitch Rossow2024-07-25 14:50:532024-07-25 14:50:53Thompson Chocolate
https://rossowphotography.com/wp-content/uploads/2024/07/Jon-Burns-painting-photographed-by-Mitch-Rossow-Thompson-Chocolate.jpg
1200
1064
Mitch Rossow
https://rossowphotography.com/wp-content/uploads/2023/10/MItch-Rossow-Artwork-Photography.png
Mitch Rossow2024-07-25 14:50:532024-07-25 14:50:53Thompson Chocolate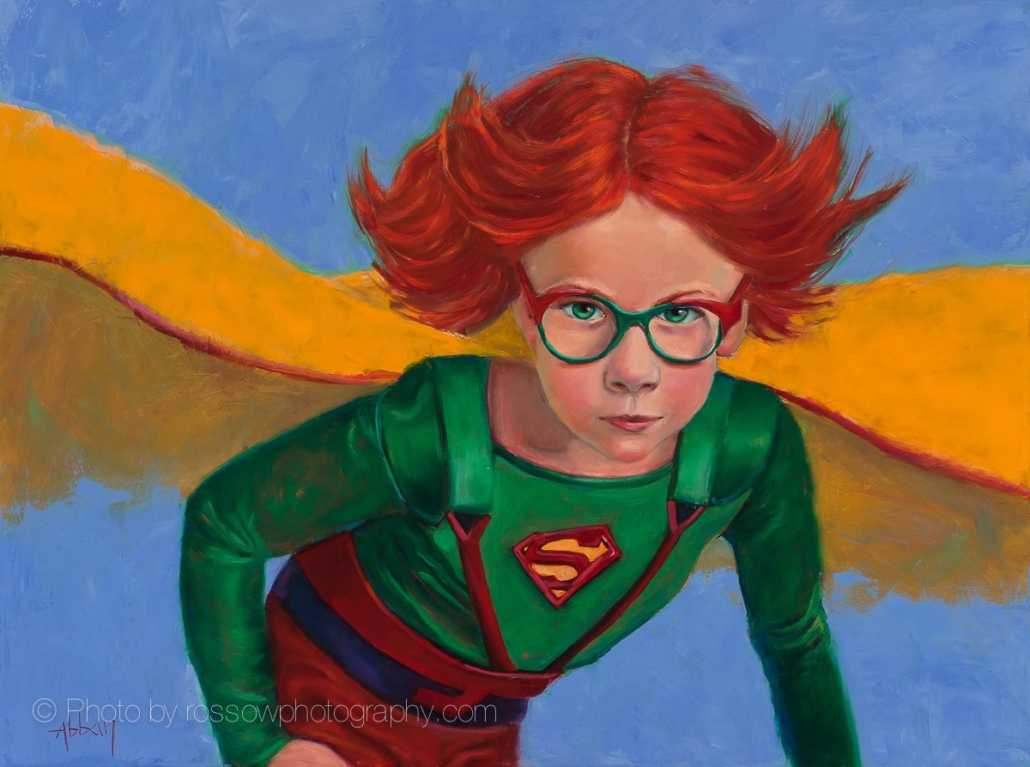 https://rossowphotography.com/wp-content/uploads/2024/07/Jane-Grant-Abban-painting-photographed-by-Mitch-Rossow-Up-Up-and-Away.jpg
894
1200
Mitch Rossow
https://rossowphotography.com/wp-content/uploads/2023/10/MItch-Rossow-Artwork-Photography.png
Mitch Rossow2024-07-17 20:17:492024-07-17 20:17:49Up Up and Away
https://rossowphotography.com/wp-content/uploads/2024/07/Jane-Grant-Abban-painting-photographed-by-Mitch-Rossow-Up-Up-and-Away.jpg
894
1200
Mitch Rossow
https://rossowphotography.com/wp-content/uploads/2023/10/MItch-Rossow-Artwork-Photography.png
Mitch Rossow2024-07-17 20:17:492024-07-17 20:17:49Up Up and Away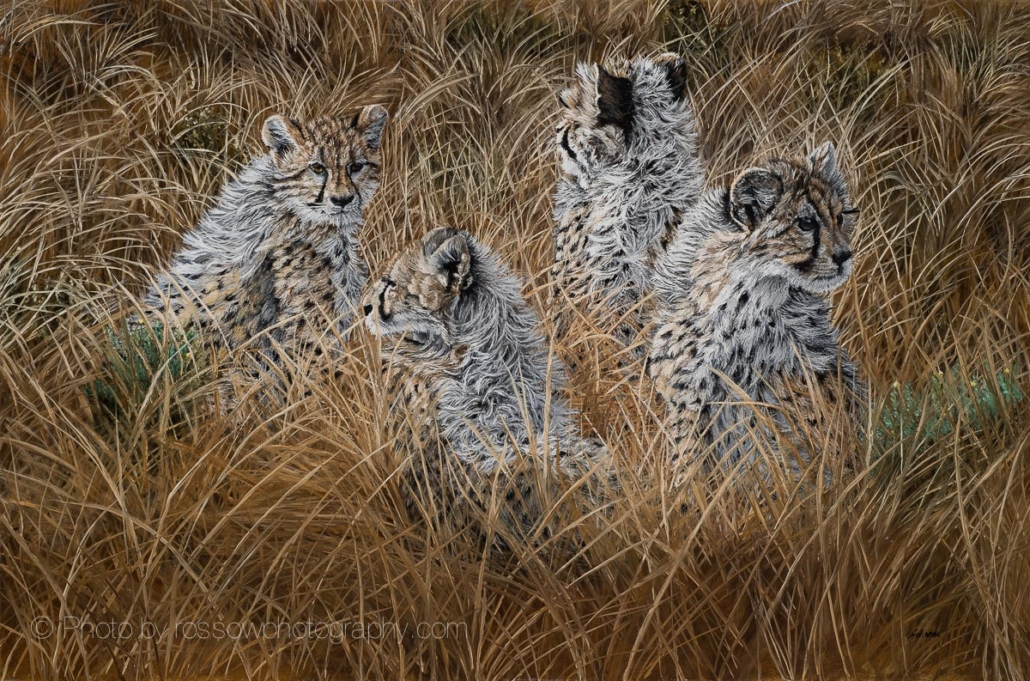 https://rossowphotography.com/wp-content/uploads/2024/07/Johanna-Lerwick-painting-photographed-by-Mitch-Rossow-Camouflaged-Siblings.jpg
793
1200
Mitch Rossow
https://rossowphotography.com/wp-content/uploads/2023/10/MItch-Rossow-Artwork-Photography.png
Mitch Rossow2024-07-16 16:29:492024-07-16 16:30:06Camouflaged Siblings
https://rossowphotography.com/wp-content/uploads/2024/07/Johanna-Lerwick-painting-photographed-by-Mitch-Rossow-Camouflaged-Siblings.jpg
793
1200
Mitch Rossow
https://rossowphotography.com/wp-content/uploads/2023/10/MItch-Rossow-Artwork-Photography.png
Mitch Rossow2024-07-16 16:29:492024-07-16 16:30:06Camouflaged Siblings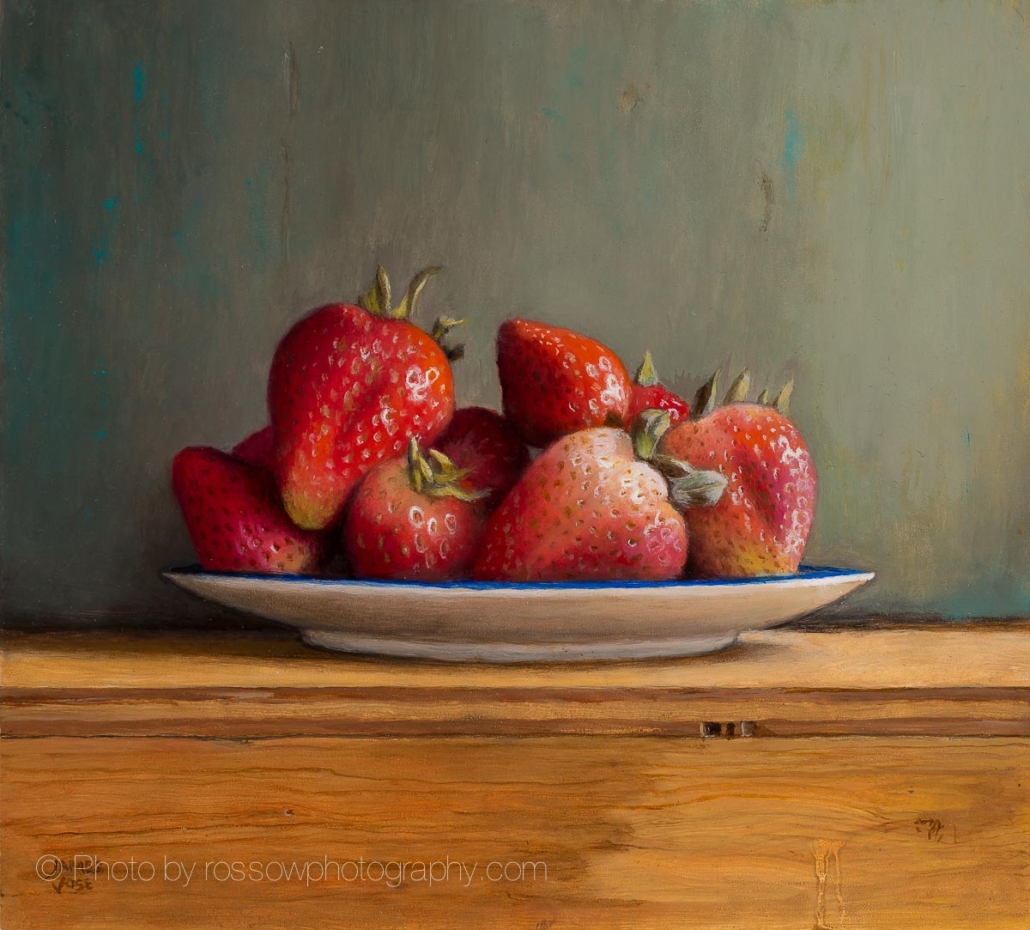 https://rossowphotography.com/wp-content/uploads/2024/07/James-Vose-painting-photographed-by-Mitch-Rossow-Nine.jpg
1083
1200
Mitch Rossow
https://rossowphotography.com/wp-content/uploads/2023/10/MItch-Rossow-Artwork-Photography.png
Mitch Rossow2024-07-15 20:38:592024-07-15 20:38:59Nine
https://rossowphotography.com/wp-content/uploads/2024/07/James-Vose-painting-photographed-by-Mitch-Rossow-Nine.jpg
1083
1200
Mitch Rossow
https://rossowphotography.com/wp-content/uploads/2023/10/MItch-Rossow-Artwork-Photography.png
Mitch Rossow2024-07-15 20:38:592024-07-15 20:38:59Nine https://rossowphotography.com/wp-content/uploads/2024/07/Hannah-Heyer-painting-photographed-by-Mitch-Rossow-Summer-Kitchen-20x16-1.jpg
1200
954
Mitch Rossow
https://rossowphotography.com/wp-content/uploads/2023/10/MItch-Rossow-Artwork-Photography.png
Mitch Rossow2024-07-13 15:12:202024-07-13 15:12:20Summer Kitchen
https://rossowphotography.com/wp-content/uploads/2024/07/Hannah-Heyer-painting-photographed-by-Mitch-Rossow-Summer-Kitchen-20x16-1.jpg
1200
954
Mitch Rossow
https://rossowphotography.com/wp-content/uploads/2023/10/MItch-Rossow-Artwork-Photography.png
Mitch Rossow2024-07-13 15:12:202024-07-13 15:12:20Summer Kitchen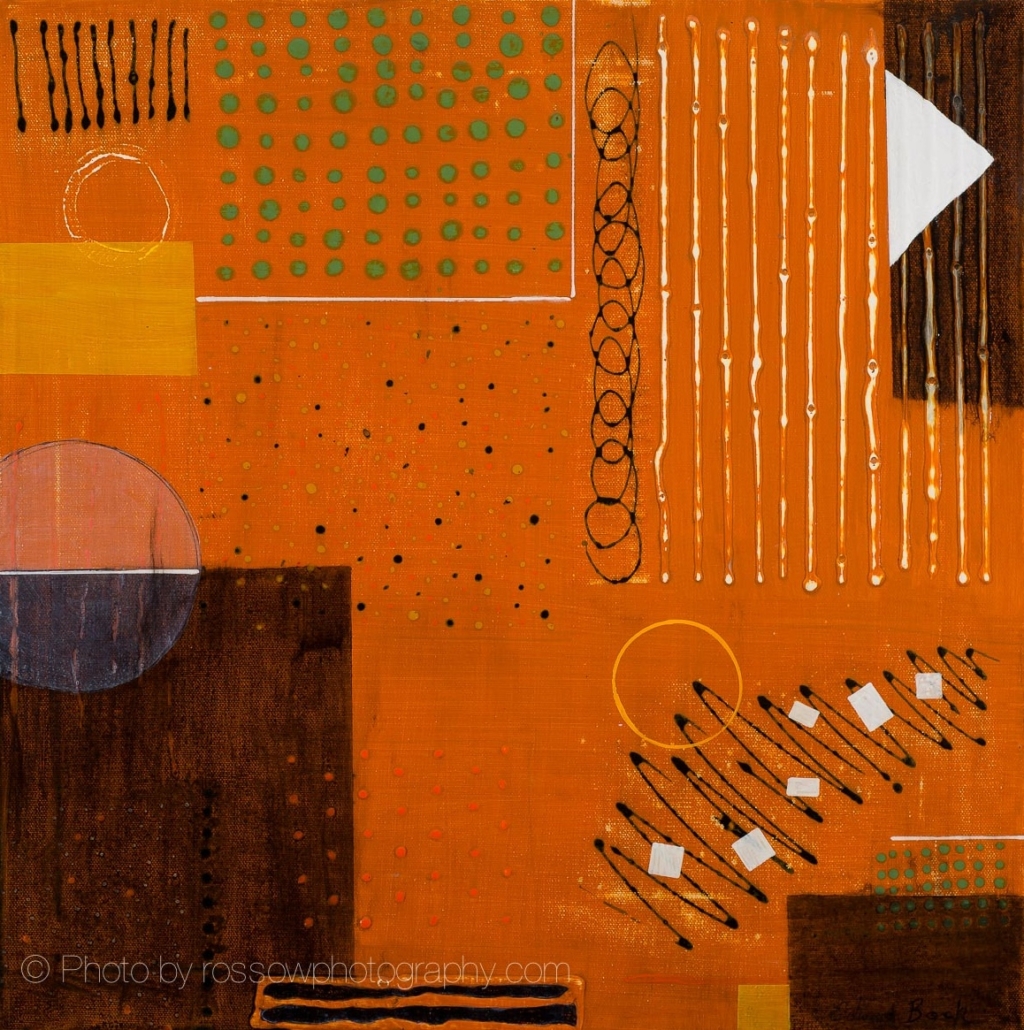 https://rossowphotography.com/wp-content/uploads/2024/07/Edward-Bock-painting-photographed-by-Mitch-Rossow-Spice-14042023c.jpg
1165
1158
Mitch Rossow
https://rossowphotography.com/wp-content/uploads/2023/10/MItch-Rossow-Artwork-Photography.png
Mitch Rossow2024-07-12 14:11:502024-07-12 14:14:23Spice
https://rossowphotography.com/wp-content/uploads/2024/07/Edward-Bock-painting-photographed-by-Mitch-Rossow-Spice-14042023c.jpg
1165
1158
Mitch Rossow
https://rossowphotography.com/wp-content/uploads/2023/10/MItch-Rossow-Artwork-Photography.png
Mitch Rossow2024-07-12 14:11:502024-07-12 14:14:23Spice https://rossowphotography.com/wp-content/uploads/2024/07/Dyan-Padgett-painting-photographed-by-Mitch-Rossow-Arabesque-a.jpg
1175
812
Mitch Rossow
https://rossowphotography.com/wp-content/uploads/2023/10/MItch-Rossow-Artwork-Photography.png
Mitch Rossow2024-07-10 18:10:232024-07-10 18:10:23Arabesque
https://rossowphotography.com/wp-content/uploads/2024/07/Dyan-Padgett-painting-photographed-by-Mitch-Rossow-Arabesque-a.jpg
1175
812
Mitch Rossow
https://rossowphotography.com/wp-content/uploads/2023/10/MItch-Rossow-Artwork-Photography.png
Mitch Rossow2024-07-10 18:10:232024-07-10 18:10:23Arabesque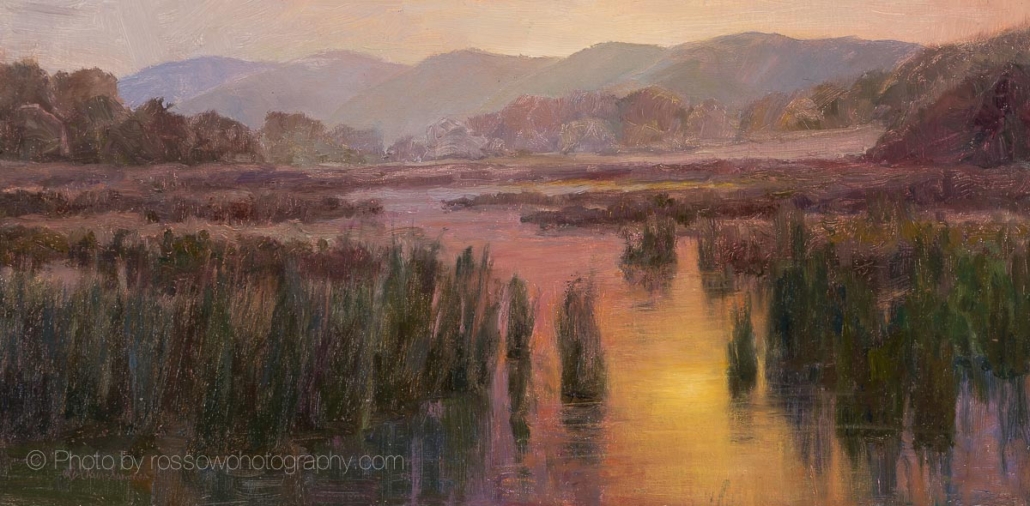 https://rossowphotography.com/wp-content/uploads/2024/07/Cheryl-LeClair-Sommer-painting-photographed-by-Mitch-Rossow-Sunset-Marshes.jpg
590
1200
Mitch Rossow
https://rossowphotography.com/wp-content/uploads/2023/10/MItch-Rossow-Artwork-Photography.png
Mitch Rossow2024-07-08 19:41:172024-07-08 19:41:17Sunset Marshes
https://rossowphotography.com/wp-content/uploads/2024/07/Cheryl-LeClair-Sommer-painting-photographed-by-Mitch-Rossow-Sunset-Marshes.jpg
590
1200
Mitch Rossow
https://rossowphotography.com/wp-content/uploads/2023/10/MItch-Rossow-Artwork-Photography.png
Mitch Rossow2024-07-08 19:41:172024-07-08 19:41:17Sunset Marshes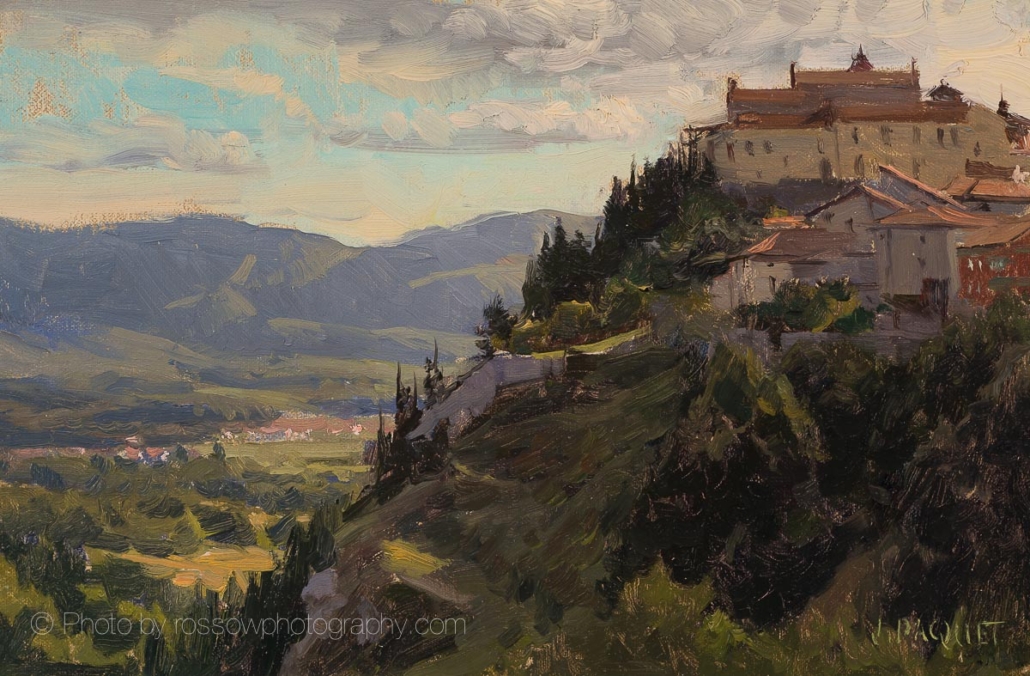 https://rossowphotography.com/wp-content/uploads/2024/07/Joe-Paquet-painting-photographed-by-Mitch-Rossow-Profile-of-Padula-12x8_.jpg
787
1200
Mitch Rossow
https://rossowphotography.com/wp-content/uploads/2023/10/MItch-Rossow-Artwork-Photography.png
Mitch Rossow2024-07-07 19:35:192024-07-07 19:40:27Profile of Padula
https://rossowphotography.com/wp-content/uploads/2024/07/Joe-Paquet-painting-photographed-by-Mitch-Rossow-Profile-of-Padula-12x8_.jpg
787
1200
Mitch Rossow
https://rossowphotography.com/wp-content/uploads/2023/10/MItch-Rossow-Artwork-Photography.png
Mitch Rossow2024-07-07 19:35:192024-07-07 19:40:27Profile of Padula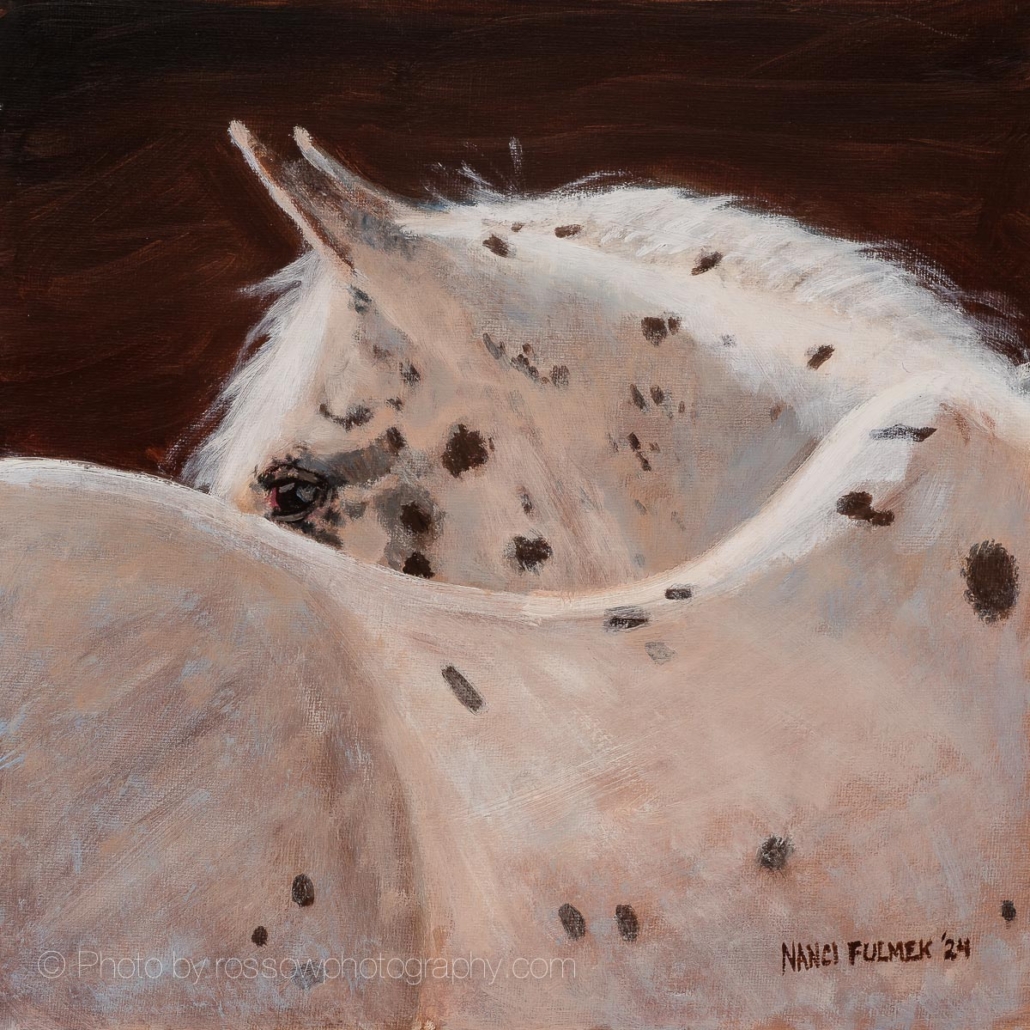 https://rossowphotography.com/wp-content/uploads/2024/07/Nanci-Fulmek-painting-photographed-by-Mitch-Rossow-Kola.jpg
1199
1200
Mitch Rossow
https://rossowphotography.com/wp-content/uploads/2023/10/MItch-Rossow-Artwork-Photography.png
Mitch Rossow2024-07-06 08:29:232024-07-06 08:29:23Kola
https://rossowphotography.com/wp-content/uploads/2024/07/Nanci-Fulmek-painting-photographed-by-Mitch-Rossow-Kola.jpg
1199
1200
Mitch Rossow
https://rossowphotography.com/wp-content/uploads/2023/10/MItch-Rossow-Artwork-Photography.png
Mitch Rossow2024-07-06 08:29:232024-07-06 08:29:23Kola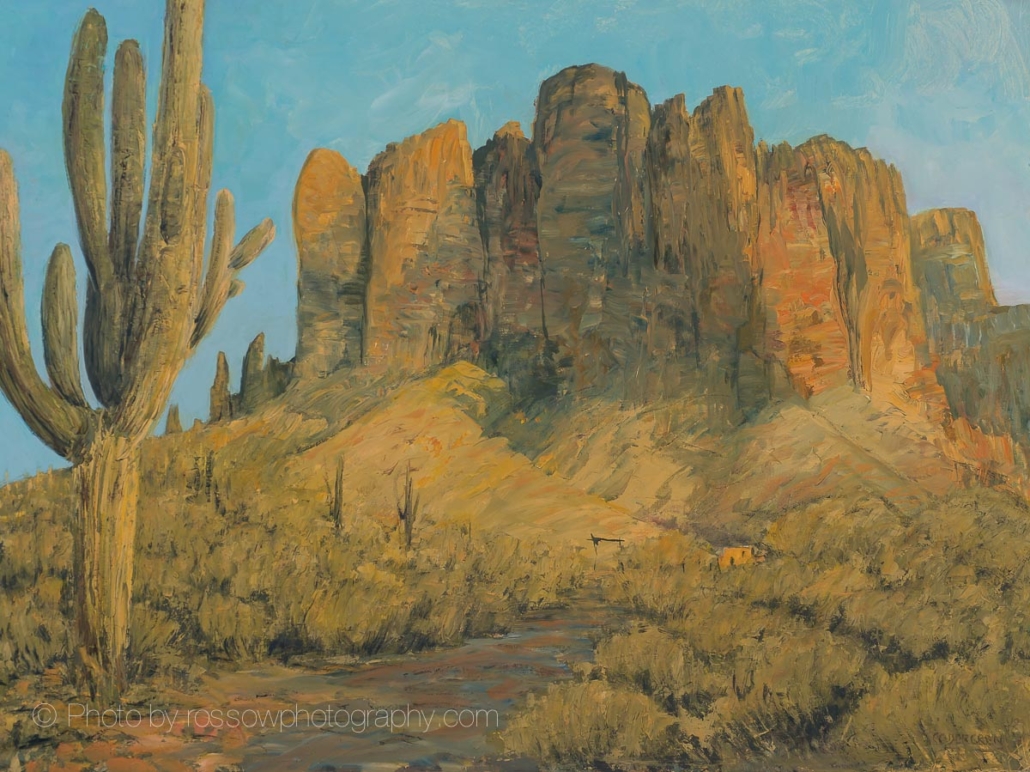 https://rossowphotography.com/wp-content/uploads/2024/07/Carl-Cedegren-painting-photographed-by-Mitch-Rossow-Superstition-Mountain.jpg
899
1200
Mitch Rossow
https://rossowphotography.com/wp-content/uploads/2023/10/MItch-Rossow-Artwork-Photography.png
Mitch Rossow2024-07-05 15:15:532024-07-05 15:15:53Superstition Mountain
https://rossowphotography.com/wp-content/uploads/2024/07/Carl-Cedegren-painting-photographed-by-Mitch-Rossow-Superstition-Mountain.jpg
899
1200
Mitch Rossow
https://rossowphotography.com/wp-content/uploads/2023/10/MItch-Rossow-Artwork-Photography.png
Mitch Rossow2024-07-05 15:15:532024-07-05 15:15:53Superstition Mountain https://rossowphotography.com/wp-content/uploads/2024/07/Carl-Bretzke-painting-photographed-by-Mitch-Rossow-Hillside-Glow.jpg
955
1200
Mitch Rossow
https://rossowphotography.com/wp-content/uploads/2023/10/MItch-Rossow-Artwork-Photography.png
Mitch Rossow2024-07-03 11:11:272024-07-03 11:11:27Hillside Glow
https://rossowphotography.com/wp-content/uploads/2024/07/Carl-Bretzke-painting-photographed-by-Mitch-Rossow-Hillside-Glow.jpg
955
1200
Mitch Rossow
https://rossowphotography.com/wp-content/uploads/2023/10/MItch-Rossow-Artwork-Photography.png
Mitch Rossow2024-07-03 11:11:272024-07-03 11:11:27Hillside Glow https://rossowphotography.com/wp-content/uploads/2024/07/Steve-Levin-painting-photographed-by-Mitch-Rossow-Reflection.jpg
1200
969
Mitch Rossow
https://rossowphotography.com/wp-content/uploads/2023/10/MItch-Rossow-Artwork-Photography.png
Mitch Rossow2024-07-01 11:45:052024-07-01 11:45:05Reflection
https://rossowphotography.com/wp-content/uploads/2024/07/Steve-Levin-painting-photographed-by-Mitch-Rossow-Reflection.jpg
1200
969
Mitch Rossow
https://rossowphotography.com/wp-content/uploads/2023/10/MItch-Rossow-Artwork-Photography.png
Mitch Rossow2024-07-01 11:45:052024-07-01 11:45:05Reflection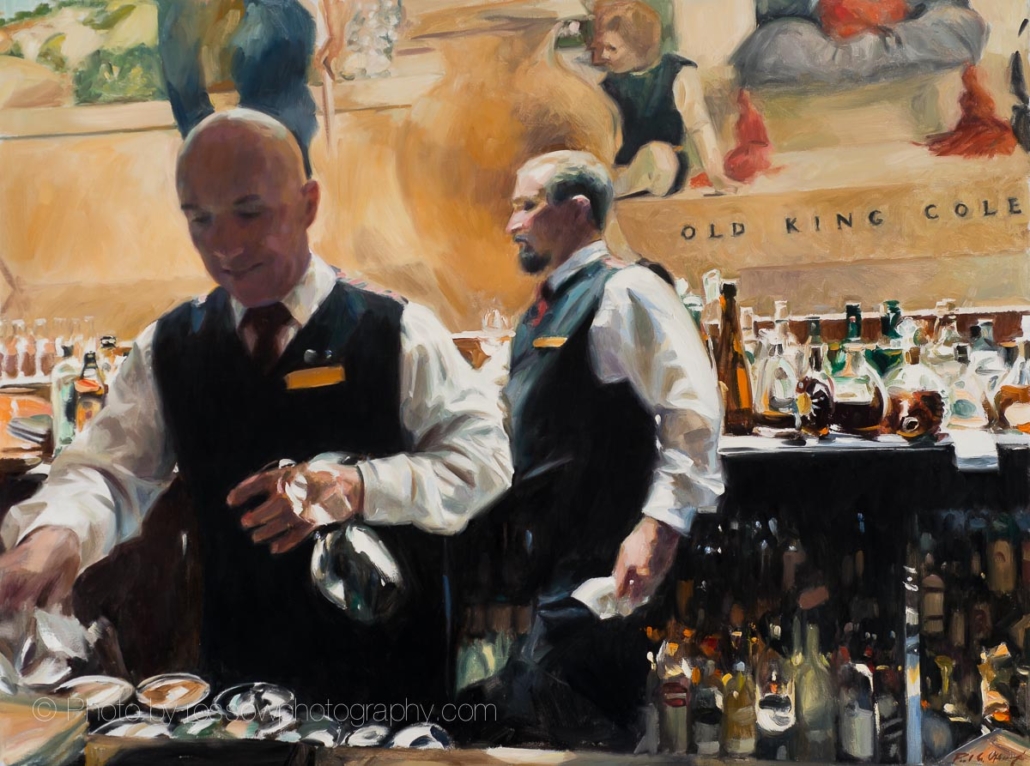 https://rossowphotography.com/wp-content/uploads/2024/06/Paul-Oxborough-painting-photographed-by-Mitch-Rossow-Old-King-Cole.jpg
893
1200
Mitch Rossow
https://rossowphotography.com/wp-content/uploads/2023/10/MItch-Rossow-Artwork-Photography.png
Mitch Rossow2024-06-29 12:26:212024-06-29 12:26:21Old King Cole
https://rossowphotography.com/wp-content/uploads/2024/06/Paul-Oxborough-painting-photographed-by-Mitch-Rossow-Old-King-Cole.jpg
893
1200
Mitch Rossow
https://rossowphotography.com/wp-content/uploads/2023/10/MItch-Rossow-Artwork-Photography.png
Mitch Rossow2024-06-29 12:26:212024-06-29 12:26:21Old King Cole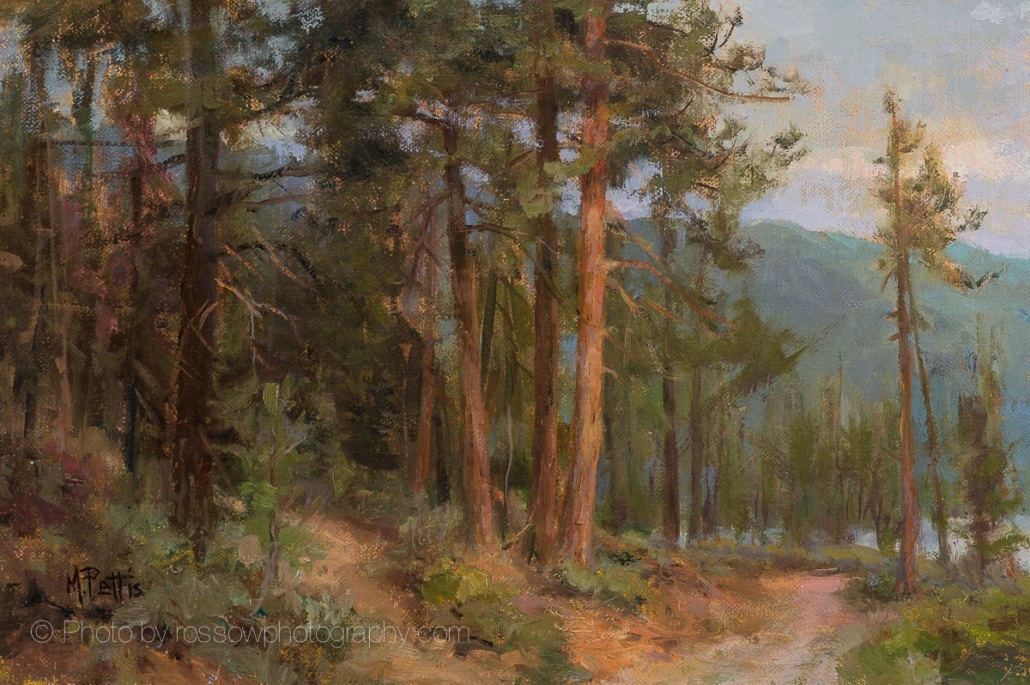 https://rossowphotography.com/wp-content/uploads/2024/06/Mary-Pettis-painting-photographed-by-Mitch-Rossow-The-Fire-Ridge-Trail-8x12-1.jpg
798
1200
Mitch Rossow
https://rossowphotography.com/wp-content/uploads/2023/10/MItch-Rossow-Artwork-Photography.png
Mitch Rossow2024-06-26 09:49:372024-06-26 09:49:37The Fire Ridge Trail
https://rossowphotography.com/wp-content/uploads/2024/06/Mary-Pettis-painting-photographed-by-Mitch-Rossow-The-Fire-Ridge-Trail-8x12-1.jpg
798
1200
Mitch Rossow
https://rossowphotography.com/wp-content/uploads/2023/10/MItch-Rossow-Artwork-Photography.png
Mitch Rossow2024-06-26 09:49:372024-06-26 09:49:37The Fire Ridge Trail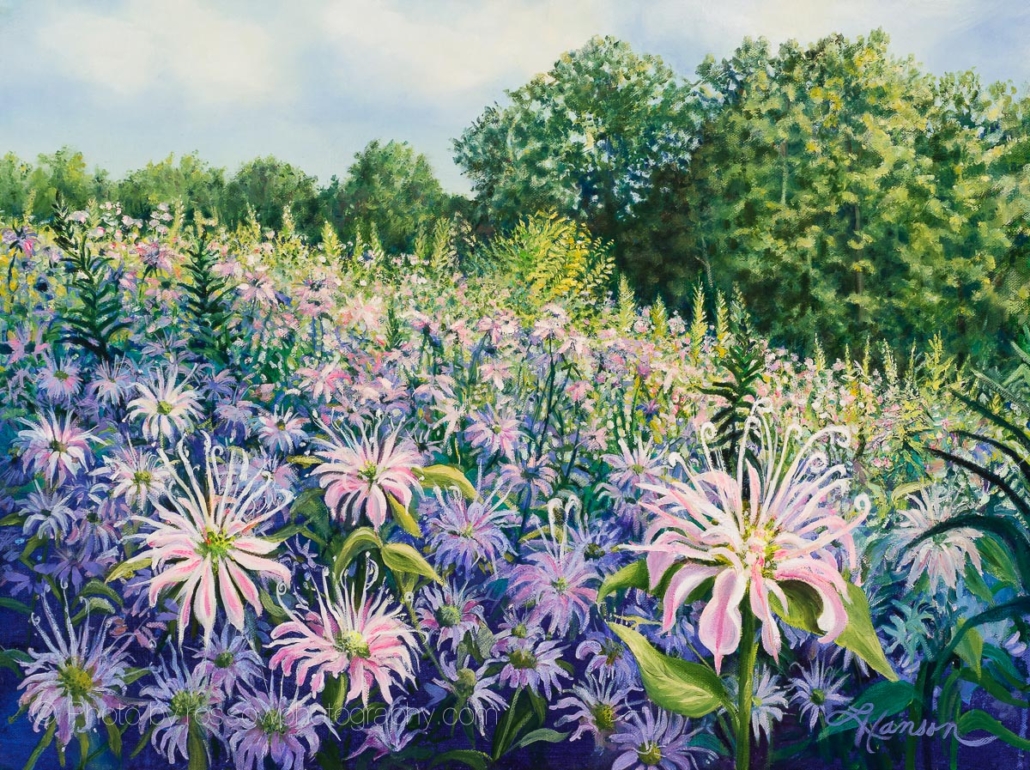 https://rossowphotography.com/wp-content/uploads/2024/06/Leanne-Hanson-painting-photographed-by-Mitch-Rossow-Bee-Balm-Meadow.jpg
897
1200
Mitch Rossow
https://rossowphotography.com/wp-content/uploads/2023/10/MItch-Rossow-Artwork-Photography.png
Mitch Rossow2024-06-24 10:48:532024-06-24 10:48:53Bee Balm Meadow
https://rossowphotography.com/wp-content/uploads/2024/06/Leanne-Hanson-painting-photographed-by-Mitch-Rossow-Bee-Balm-Meadow.jpg
897
1200
Mitch Rossow
https://rossowphotography.com/wp-content/uploads/2023/10/MItch-Rossow-Artwork-Photography.png
Mitch Rossow2024-06-24 10:48:532024-06-24 10:48:53Bee Balm Meadow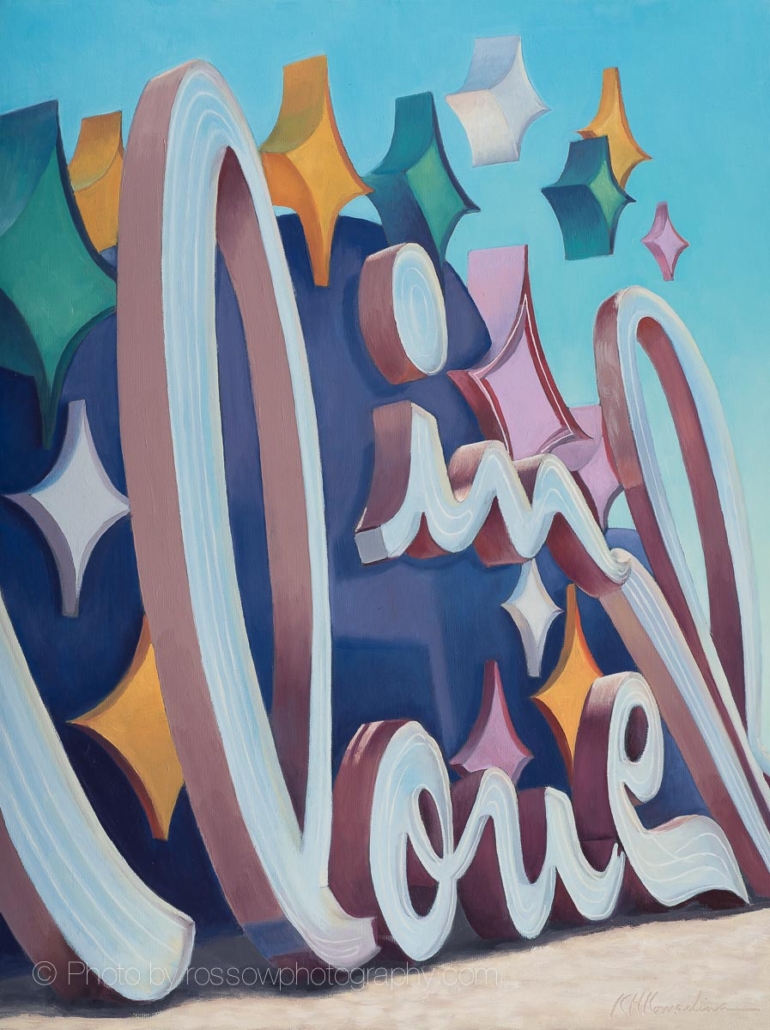 https://rossowphotography.com/wp-content/uploads/2024/06/Kevin-Komadina-painting-photographed-by-Mitch-Rossow-In-Love-Too.jpg
1200
897
Mitch Rossow
https://rossowphotography.com/wp-content/uploads/2023/10/MItch-Rossow-Artwork-Photography.png
Mitch Rossow2024-06-20 10:34:072024-06-20 10:34:07In Love Too
https://rossowphotography.com/wp-content/uploads/2024/06/Kevin-Komadina-painting-photographed-by-Mitch-Rossow-In-Love-Too.jpg
1200
897
Mitch Rossow
https://rossowphotography.com/wp-content/uploads/2023/10/MItch-Rossow-Artwork-Photography.png
Mitch Rossow2024-06-20 10:34:072024-06-20 10:34:07In Love Too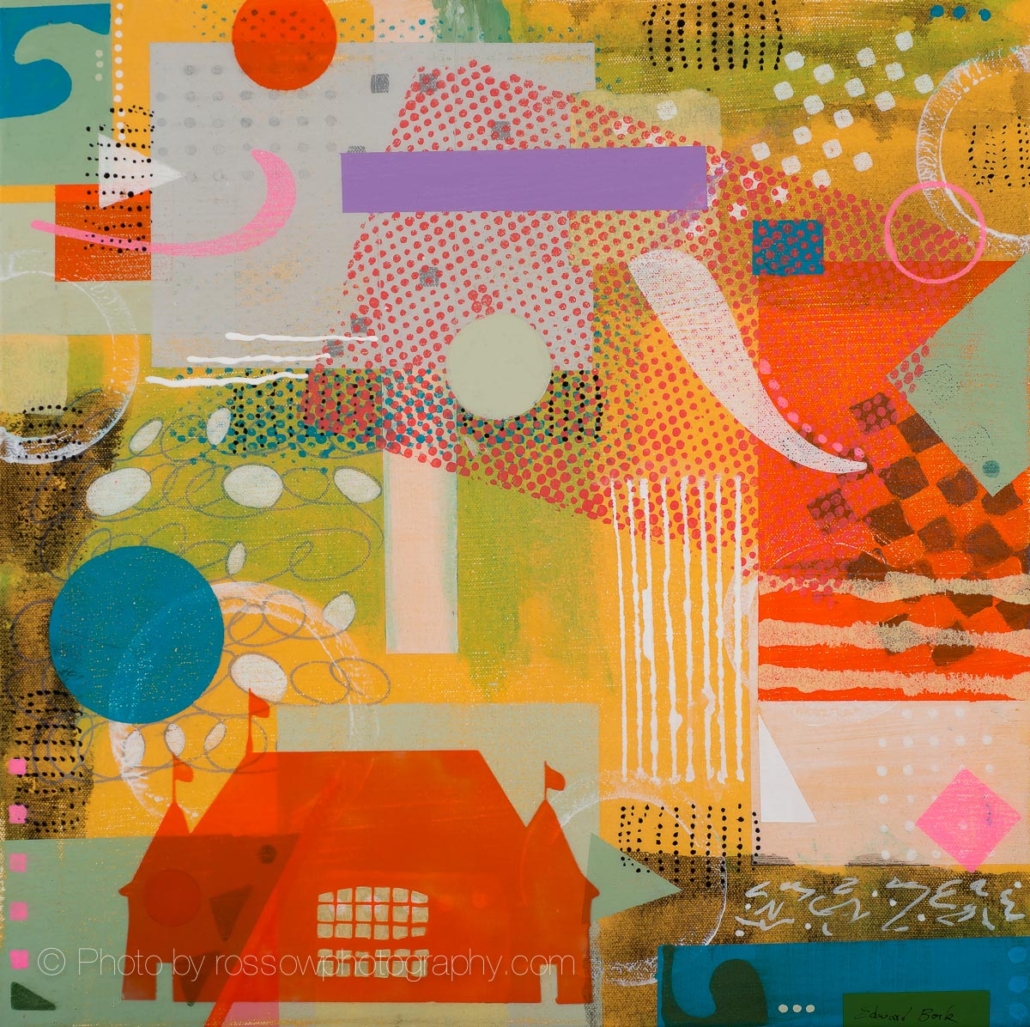 https://rossowphotography.com/wp-content/uploads/2024/06/Pavilion-14012023-painting-by-Edward-Bock-230630.jpg
1196
1200
Mitch Rossow
https://rossowphotography.com/wp-content/uploads/2023/10/MItch-Rossow-Artwork-Photography.png
Mitch Rossow2024-06-19 09:11:582024-06-19 09:11:58Pavilion
https://rossowphotography.com/wp-content/uploads/2024/06/Pavilion-14012023-painting-by-Edward-Bock-230630.jpg
1196
1200
Mitch Rossow
https://rossowphotography.com/wp-content/uploads/2023/10/MItch-Rossow-Artwork-Photography.png
Mitch Rossow2024-06-19 09:11:582024-06-19 09:11:58Pavilion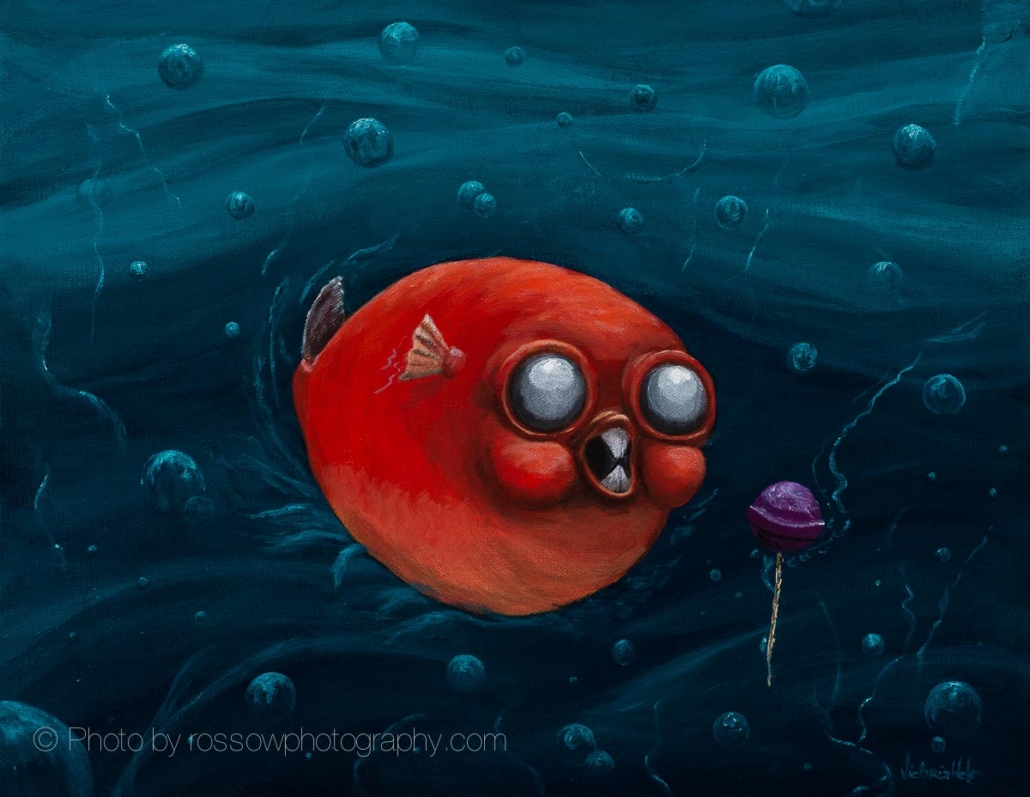 https://rossowphotography.com/wp-content/uploads/2024/05/Victoria-Helen-painting-photographed-by-Mitch-Rossow-Puffer-and-Pop.jpg
928
1200
Mitch Rossow
https://rossowphotography.com/wp-content/uploads/2023/10/MItch-Rossow-Artwork-Photography.png
Mitch Rossow2024-05-30 10:48:342024-07-02 09:38:11Puffer and Pop
https://rossowphotography.com/wp-content/uploads/2024/05/Victoria-Helen-painting-photographed-by-Mitch-Rossow-Puffer-and-Pop.jpg
928
1200
Mitch Rossow
https://rossowphotography.com/wp-content/uploads/2023/10/MItch-Rossow-Artwork-Photography.png
Mitch Rossow2024-05-30 10:48:342024-07-02 09:38:11Puffer and Pop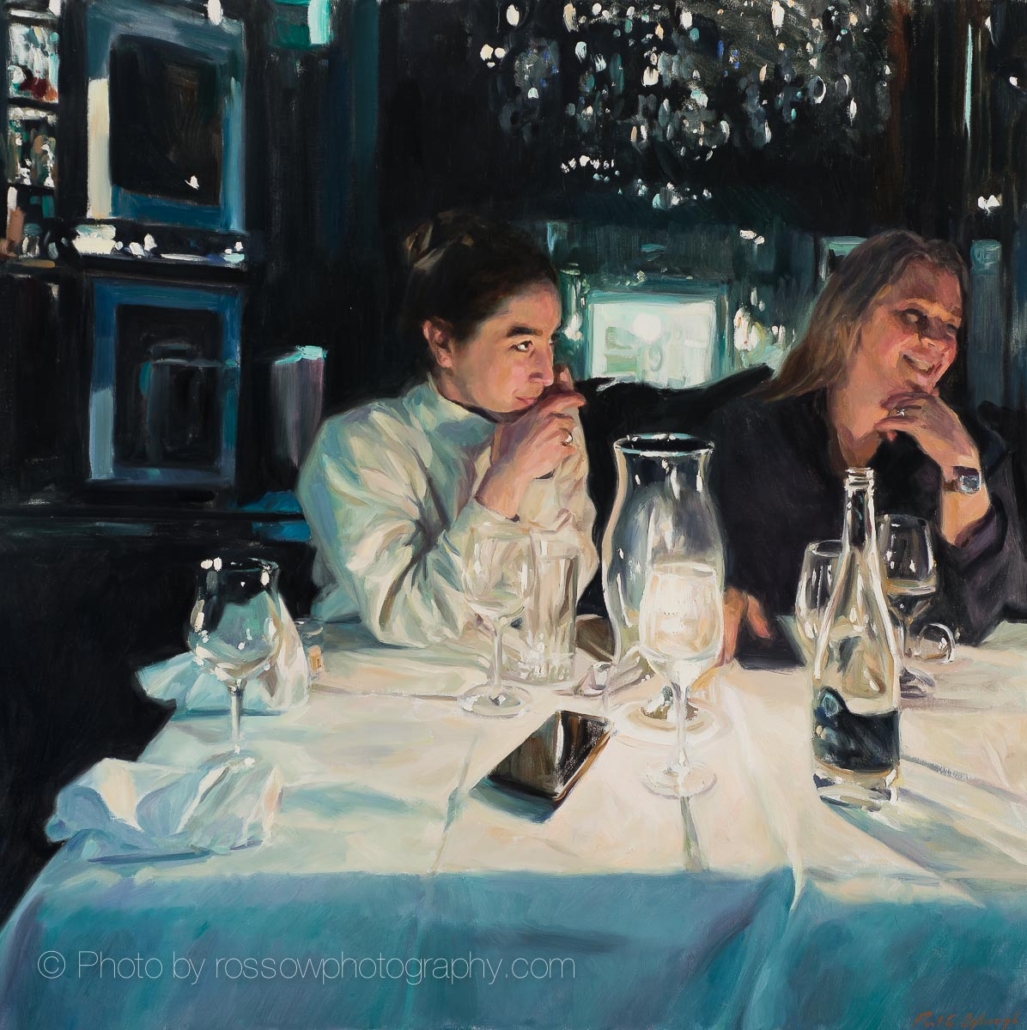 https://rossowphotography.com/wp-content/uploads/2024/05/Paul-Oxborough-painting-photographed-by-Mitch-Rossow-After-Dinner-40x40-1.jpg
1200
1196
Mitch Rossow
https://rossowphotography.com/wp-content/uploads/2023/10/MItch-Rossow-Artwork-Photography.png
Mitch Rossow2024-05-29 08:07:522024-05-29 08:07:52After Dinner
https://rossowphotography.com/wp-content/uploads/2024/05/Paul-Oxborough-painting-photographed-by-Mitch-Rossow-After-Dinner-40x40-1.jpg
1200
1196
Mitch Rossow
https://rossowphotography.com/wp-content/uploads/2023/10/MItch-Rossow-Artwork-Photography.png
Mitch Rossow2024-05-29 08:07:522024-05-29 08:07:52After Dinner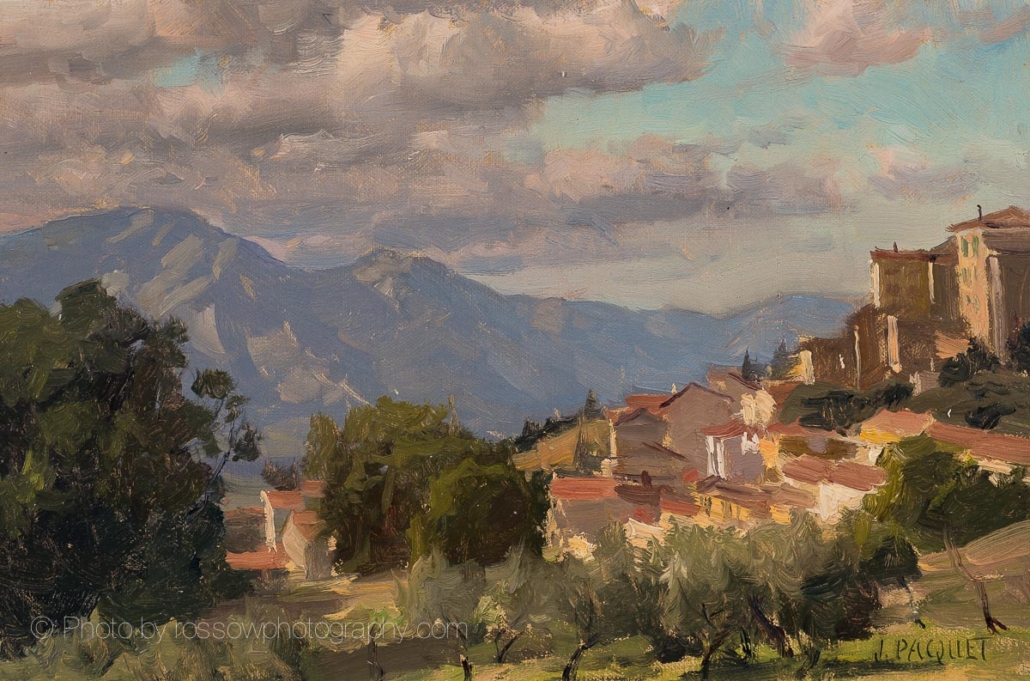 https://rossowphotography.com/wp-content/uploads/2024/05/Joe-Paquet-painting-photographed-by-Mitch-Rossow-Late-Afternoon-Padula-8x12-1.jpg
793
1200
Mitch Rossow
https://rossowphotography.com/wp-content/uploads/2023/10/MItch-Rossow-Artwork-Photography.png
Mitch Rossow2024-05-08 09:45:002024-05-08 09:45:00Late Afternoon, Padula
https://rossowphotography.com/wp-content/uploads/2024/05/Joe-Paquet-painting-photographed-by-Mitch-Rossow-Late-Afternoon-Padula-8x12-1.jpg
793
1200
Mitch Rossow
https://rossowphotography.com/wp-content/uploads/2023/10/MItch-Rossow-Artwork-Photography.png
Mitch Rossow2024-05-08 09:45:002024-05-08 09:45:00Late Afternoon, Padula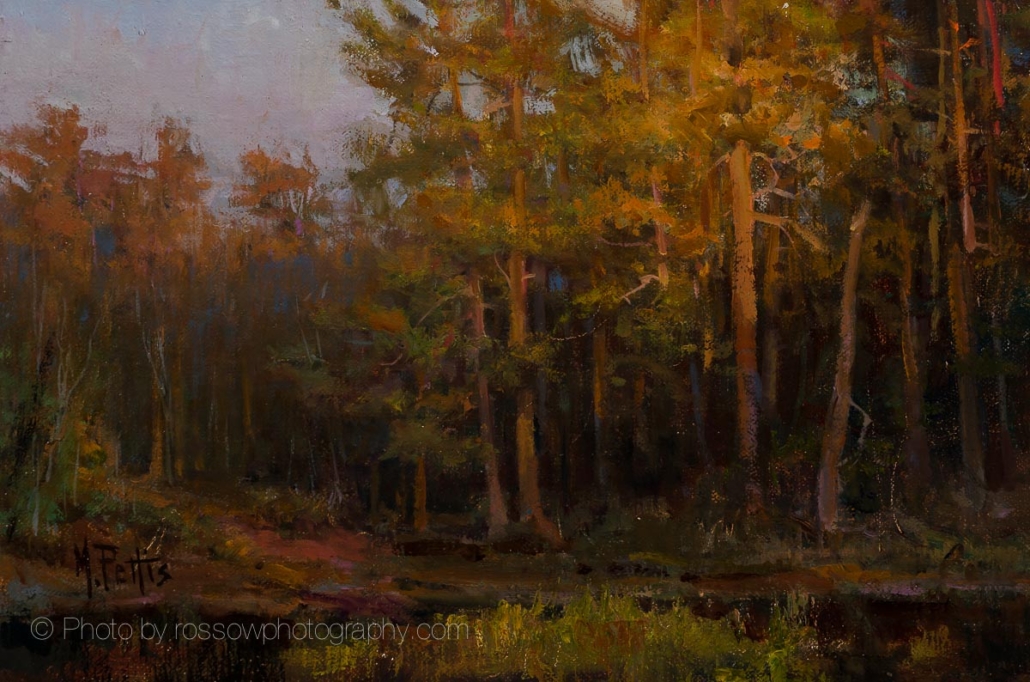 https://rossowphotography.com/wp-content/uploads/2024/05/Mary-Pettis-painting-photographed-by-Mitch-Rossow-Drop-of-Dawn-8x12-1.jpg
794
1200
Mitch Rossow
https://rossowphotography.com/wp-content/uploads/2023/10/MItch-Rossow-Artwork-Photography.png
Mitch Rossow2024-05-07 09:28:142024-05-07 09:28:14Drop of Dawn
https://rossowphotography.com/wp-content/uploads/2024/05/Mary-Pettis-painting-photographed-by-Mitch-Rossow-Drop-of-Dawn-8x12-1.jpg
794
1200
Mitch Rossow
https://rossowphotography.com/wp-content/uploads/2023/10/MItch-Rossow-Artwork-Photography.png
Mitch Rossow2024-05-07 09:28:142024-05-07 09:28:14Drop of Dawn https://rossowphotography.com/wp-content/uploads/2024/05/Edward-Bock-painting-photographed-by-Mitch-Rossow-Cygnus-12602019.jpg
1192
1200
Mitch Rossow
https://rossowphotography.com/wp-content/uploads/2023/10/MItch-Rossow-Artwork-Photography.png
Mitch Rossow2024-05-05 10:31:512024-05-05 10:31:51Cygnus
https://rossowphotography.com/wp-content/uploads/2024/05/Edward-Bock-painting-photographed-by-Mitch-Rossow-Cygnus-12602019.jpg
1192
1200
Mitch Rossow
https://rossowphotography.com/wp-content/uploads/2023/10/MItch-Rossow-Artwork-Photography.png
Mitch Rossow2024-05-05 10:31:512024-05-05 10:31:51Cygnus https://rossowphotography.com/wp-content/uploads/2024/05/Cheryl-LeClair-Sommer-painting-photographed-by-Mitch-Rossow-The-Warmth-of-the-Winter-Sun.jpg
894
1200
Mitch Rossow
https://rossowphotography.com/wp-content/uploads/2023/10/MItch-Rossow-Artwork-Photography.png
Mitch Rossow2024-05-02 09:35:092024-05-02 09:36:53The Warmth of the Winter Sun
https://rossowphotography.com/wp-content/uploads/2024/05/Cheryl-LeClair-Sommer-painting-photographed-by-Mitch-Rossow-The-Warmth-of-the-Winter-Sun.jpg
894
1200
Mitch Rossow
https://rossowphotography.com/wp-content/uploads/2023/10/MItch-Rossow-Artwork-Photography.png
Mitch Rossow2024-05-02 09:35:092024-05-02 09:36:53The Warmth of the Winter Sun https://rossowphotography.com/wp-content/uploads/2024/05/Dan-Olson-painting-photographed-by-Mitch-Rossow-Seagull-Lake.jpg
901
1200
Mitch Rossow
https://rossowphotography.com/wp-content/uploads/2023/10/MItch-Rossow-Artwork-Photography.png
Mitch Rossow2024-05-01 10:12:212024-05-01 10:12:21Seagull Lake
https://rossowphotography.com/wp-content/uploads/2024/05/Dan-Olson-painting-photographed-by-Mitch-Rossow-Seagull-Lake.jpg
901
1200
Mitch Rossow
https://rossowphotography.com/wp-content/uploads/2023/10/MItch-Rossow-Artwork-Photography.png
Mitch Rossow2024-05-01 10:12:212024-05-01 10:12:21Seagull Lake https://rossowphotography.com/wp-content/uploads/2024/04/Dyan-Padgett-painting-photographed-by-Mitch-Rossow-At-Last.jpg
1200
953
Mitch Rossow
https://rossowphotography.com/wp-content/uploads/2023/10/MItch-Rossow-Artwork-Photography.png
Mitch Rossow2024-04-30 09:35:112024-04-30 09:38:52At Last
https://rossowphotography.com/wp-content/uploads/2024/04/Dyan-Padgett-painting-photographed-by-Mitch-Rossow-At-Last.jpg
1200
953
Mitch Rossow
https://rossowphotography.com/wp-content/uploads/2023/10/MItch-Rossow-Artwork-Photography.png
Mitch Rossow2024-04-30 09:35:112024-04-30 09:38:52At Last https://rossowphotography.com/wp-content/uploads/2024/04/Hannah-Heyer-painting-photographed-by-Mitch-Rossow-Ridge-Tracks-24x30-1.jpg
953
1200
Mitch Rossow
https://rossowphotography.com/wp-content/uploads/2023/10/MItch-Rossow-Artwork-Photography.png
Mitch Rossow2024-04-28 09:45:592024-04-28 09:45:59Ridge Tracks
https://rossowphotography.com/wp-content/uploads/2024/04/Hannah-Heyer-painting-photographed-by-Mitch-Rossow-Ridge-Tracks-24x30-1.jpg
953
1200
Mitch Rossow
https://rossowphotography.com/wp-content/uploads/2023/10/MItch-Rossow-Artwork-Photography.png
Mitch Rossow2024-04-28 09:45:592024-04-28 09:45:59Ridge Tracks https://rossowphotography.com/wp-content/uploads/2024/04/Carl-Cedegren-painting-photographed-by-Mitch-Rossow-After-the-Rain-Bail.jpg
900
1200
Mitch Rossow
https://rossowphotography.com/wp-content/uploads/2023/10/MItch-Rossow-Artwork-Photography.png
Mitch Rossow2024-04-27 09:52:452024-04-27 09:52:45After the Rain Bail
https://rossowphotography.com/wp-content/uploads/2024/04/Carl-Cedegren-painting-photographed-by-Mitch-Rossow-After-the-Rain-Bail.jpg
900
1200
Mitch Rossow
https://rossowphotography.com/wp-content/uploads/2023/10/MItch-Rossow-Artwork-Photography.png
Mitch Rossow2024-04-27 09:52:452024-04-27 09:52:45After the Rain Bail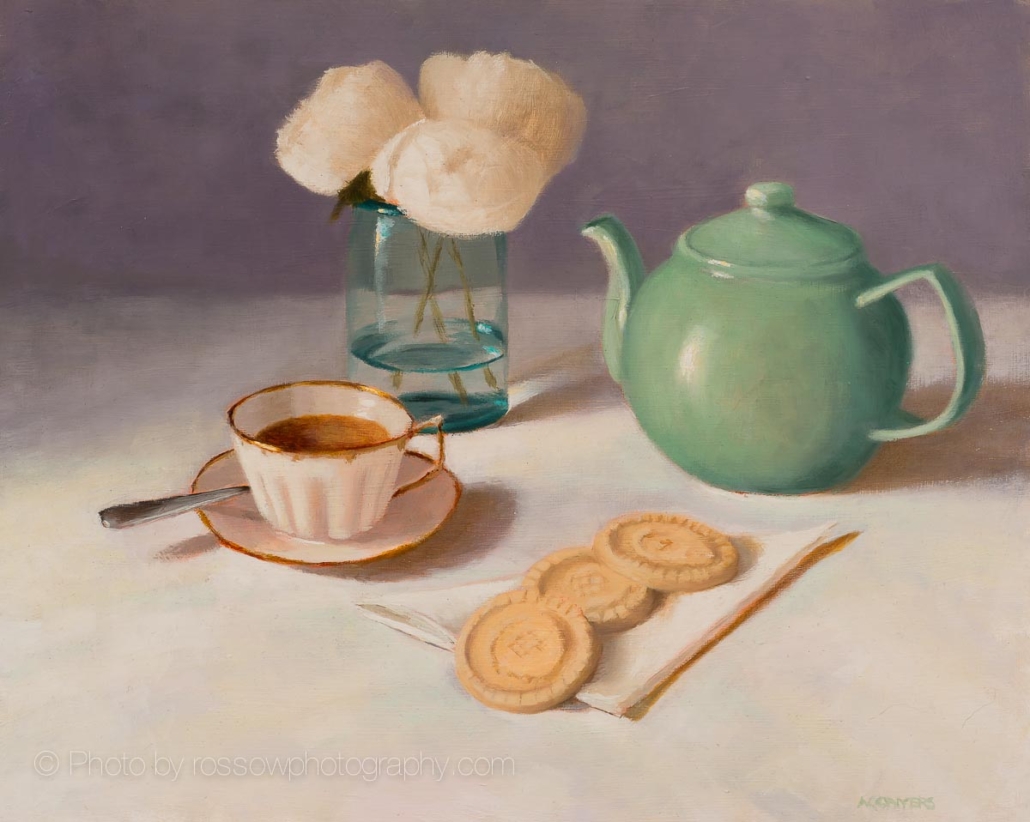 https://rossowphotography.com/wp-content/uploads/2024/04/Allison-Conyers-painting-photographed-by-Mitch-Rossow-Tea-Party-for-One.jpg
958
1200
Mitch Rossow
https://rossowphotography.com/wp-content/uploads/2023/10/MItch-Rossow-Artwork-Photography.png
Mitch Rossow2024-04-25 09:20:422024-04-25 09:20:42Tea Party for One
https://rossowphotography.com/wp-content/uploads/2024/04/Allison-Conyers-painting-photographed-by-Mitch-Rossow-Tea-Party-for-One.jpg
958
1200
Mitch Rossow
https://rossowphotography.com/wp-content/uploads/2023/10/MItch-Rossow-Artwork-Photography.png
Mitch Rossow2024-04-25 09:20:422024-04-25 09:20:42Tea Party for One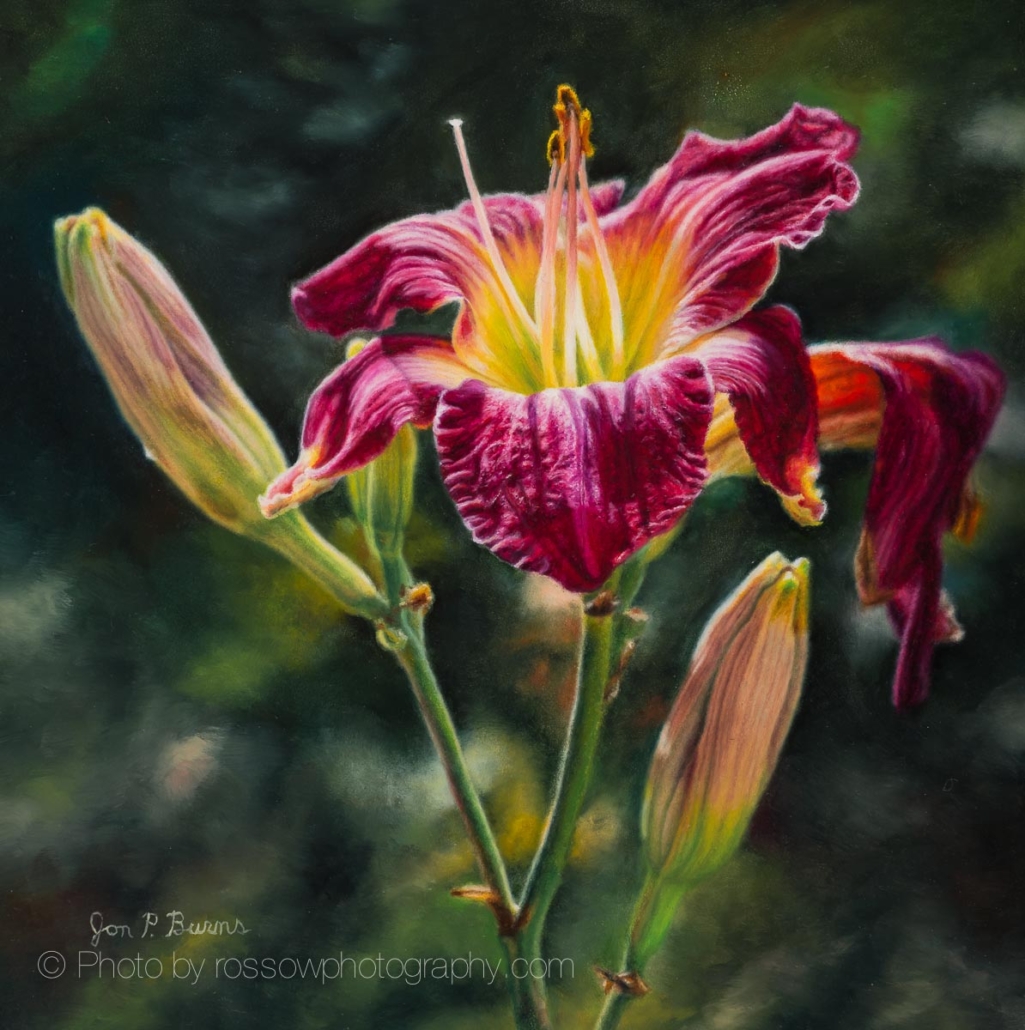 https://rossowphotography.com/wp-content/uploads/2024/04/Jon-Burns-painting-photographed-by-Mitch-Rossow-Splash-of-Light.jpg
1200
1194
Mitch Rossow
https://rossowphotography.com/wp-content/uploads/2023/10/MItch-Rossow-Artwork-Photography.png
Mitch Rossow2024-04-24 07:03:352024-04-24 07:03:35Splash of Light
https://rossowphotography.com/wp-content/uploads/2024/04/Jon-Burns-painting-photographed-by-Mitch-Rossow-Splash-of-Light.jpg
1200
1194
Mitch Rossow
https://rossowphotography.com/wp-content/uploads/2023/10/MItch-Rossow-Artwork-Photography.png
Mitch Rossow2024-04-24 07:03:352024-04-24 07:03:35Splash of LightArtwork Carriers – Adjustable Wood
6″ x 8″ Guerrilla Adjustable Painting Carrier
9″ x 12″ & 8″ x 10″ Sienna Painting Carrier
Artwork Carriers – Cardboard
5″ x 7″ Guerrilla Painting Carrier
8″ x 10″ Guerrilla Painting Carrier
9″ x 12″ Guerrilla Painting Carrier
16″ x 20″ Guerrilla Painting Carrier