
How I Photograph Paintings
Photographing a painting isn’t really photography in the ordinary sense. It’s closer to engineering. A painting is flat, but it isn’t simple: it has texture, sheen, and color relationships that shift depending on the angle of the light hitting them. A general-purpose photography setup solves the wrong problem. Here’s what I actually use, and why each piece of it exists.
A Studio Built for One Purpose
My studio isn’t a general photography space adapted for paintings. It was built from the ground up to do one thing. The walls, floor, and everything in the room are monochrome, because any color in the environment can reflect subtly onto the surface of a painting and throw off the color reading, especially on glossy or varnished work. The whole space is set up for one kind of subject, and that focus is what makes the results repeatable.
Equipment Chosen for the Problem, Not for Photography in General
My studio setup centers on two pieces of equipment chosen for one job: reproducing a painting exactly as it exists, not as a camera thinks it should look. The combination is the legendary Nikon D800E paired with a 60mm macro lens, and each one solves a different problem.
The D800E’s 36-megapixel sensor resolves fine brushwork and texture at true print scale. The E variant is the reason it still outperforms most of what’s come since: standard sensors include an optical low-pass filter that softens the image slightly to prevent moiré patterns, but the Nikon D800E’s filter is built to cancel that softening effect instead, so the sensor captures real detail rather than a slightly blurred approximation of it. That’s exactly why this became a standard choice for landscape, architectural, and reproduction photographers who needed maximum resolving power. Thirty-six megapixels with nothing softening them back down is close to the ceiling of what a DSLR sensor was ever built to resolve, before the rest of the industry moved on to autofocus speed, burst rate, and video, none of which matter for a stationary painting on a tripod.
The 60mm macro lens solves a different, less obvious problem. Macro lenses are built to render a flat plane accurately, edge to edge, with minimal distortion, exactly the optical challenge a painting presents. A general-purpose lens will often introduce a subtle field curvature or geometric distortion that’s invisible on an ordinary subject but very visible on a straight-edged canvas.
Lighting comes from a bespoke lighting system I designed myself, now in its fifth generation, built around a bank of lights arranged to deliver even coverage across the entire surface, with less than 1% variation from one edge of the painting to the other. Uneven lighting is one of the most common reasons a photographed painting looks different from the original: a hot spot in the center or a shadow along one edge changes how the colors and values read, even if nothing else about the file is wrong. I don’t publish the specifics of how the system is built. It’s taken years of iteration to get right, and it’s a meaningful part of what separates this from a general-purpose photography setup.
Precision Alignment
The camera has to be parallel to the painting’s surface. Even a small angle introduces keystoning, a subtle trapezoidal distortion that squares off incorrectly and quietly warps the proportions of the piece. It’s easy to miss at a glance and very noticeable once a painting is printed large or submitted to a juror who’s comparing it against the original. My alignment system is calibrated to within 1/20th of a degree of true parallel. That’s well beyond what the eye would ever notice as “off,” but I’ve spent years chasing that last bit of precision anyway, because it’s the difference between a painting that photographs true and one that’s subtly, invisibly skewed.
The Trained Eye Behind the Camera
Equipment gets you accurate capture. It doesn’t tell you what you’re looking at. I hold a Bachelor of Science degree in art and spent years studying painting before I ever photographed one professionally, which gives me a working understanding of what a painting is trying to do, not just what it technically contains. After 18 years and thousands of paintings for hundreds of artists, I can recognize when heavy impasto is meant to catch the light dramatically versus when a thinner passage is meant to sit quietly in the background. That distinction shapes decisions throughout the session that a purely technical approach would miss.
Why Most DIY Attempts Fall Short
Artists ask me fairly often whether they could just photograph their own paintings, and there’s plenty of general photography advice online telling them how. I went through most of it myself when I was first figuring this out, and nearly all of it turned out to be faulty in ways that only show up once you compare the result to the actual painting.
“Shoot outside in open shade” is some of the most common advice out there, and it’s a reasonable instinct: even, diffused light with no direct sun. In practice, open shade is lit by a blue sky acting as a giant soft light source, and that blue cast finds its way into the entire image. A painting photographed this way often comes back looking convincingly even and well-lit, and subtly, uniformly wrong in color, in a way that’s hard to spot until it’s sitting next to the original.
Uneven light is the problem that shows up no matter what setup someone improvises. Two lamps, a window and a lamp, an overcast day: something in the frame always ends up a little brighter or a little dimmer than the rest, and that unevenness changes how the colors and values read across the piece even when nothing else is wrong. It’s a genuinely hard problem to solve without equipment built specifically to solve it.
Getting the camera truly square to the painting is another one people underestimate. It looks straightforward by eye, and it rarely is. A few degrees off introduces a subtle keystoning distortion that skews the proportions of the piece without looking obviously “tilted” in the photo. Getting it right consistently took me years of iteration and purpose-built alignment tools, not a level and a good eye.
None of this is a knock on anyone who tries it themselves. It’s the reason this is a specialty in the first place. I tried the standard advice, found the same problems every time, and eventually built my own system. Precision requires the right tools and process.
The camera and lens capture the file. What happens to it afterward is a separate discipline: see Color Accuracy in Artwork Photography for how that file gets corrected to match the actual painting.
See Pricing & What’s Included →
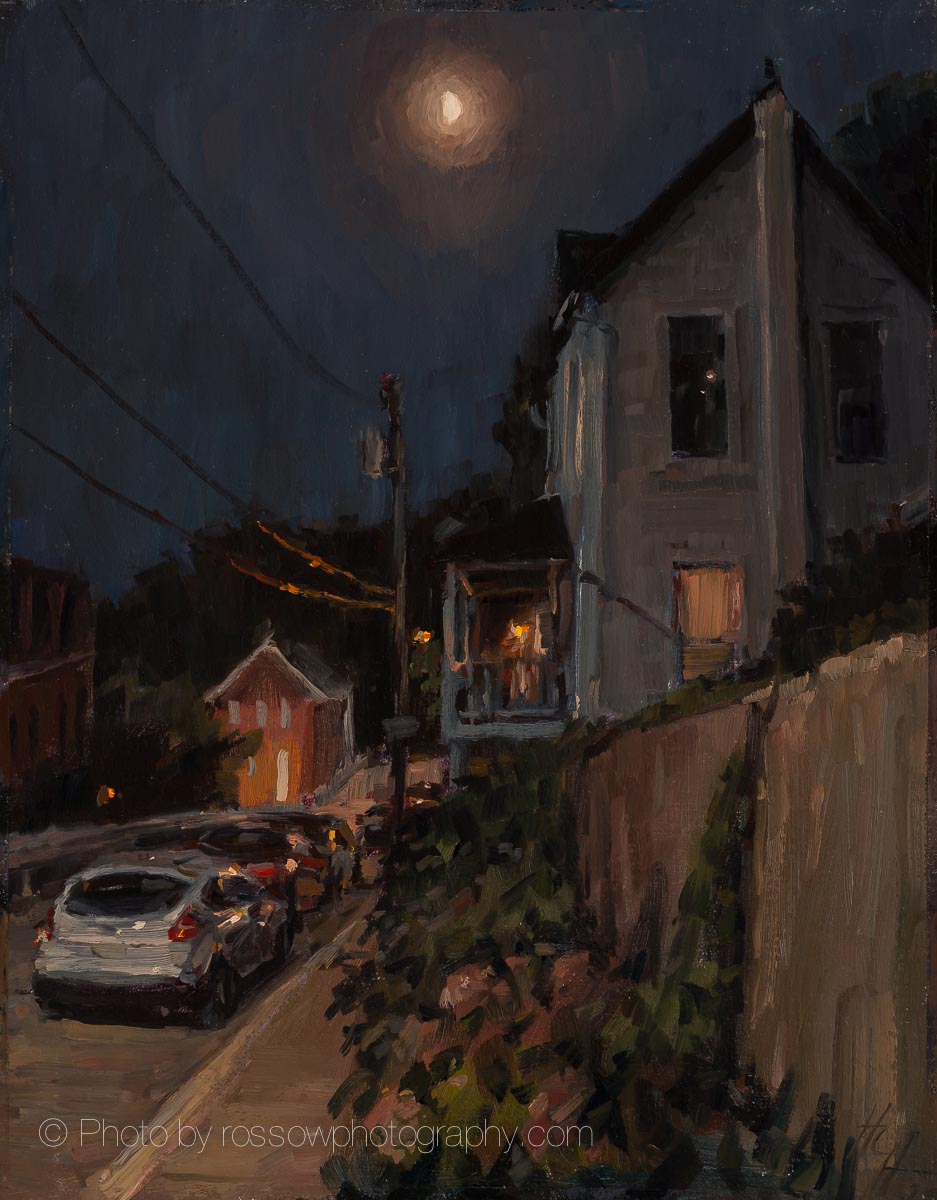
* Half Full by Hannah Heyer